

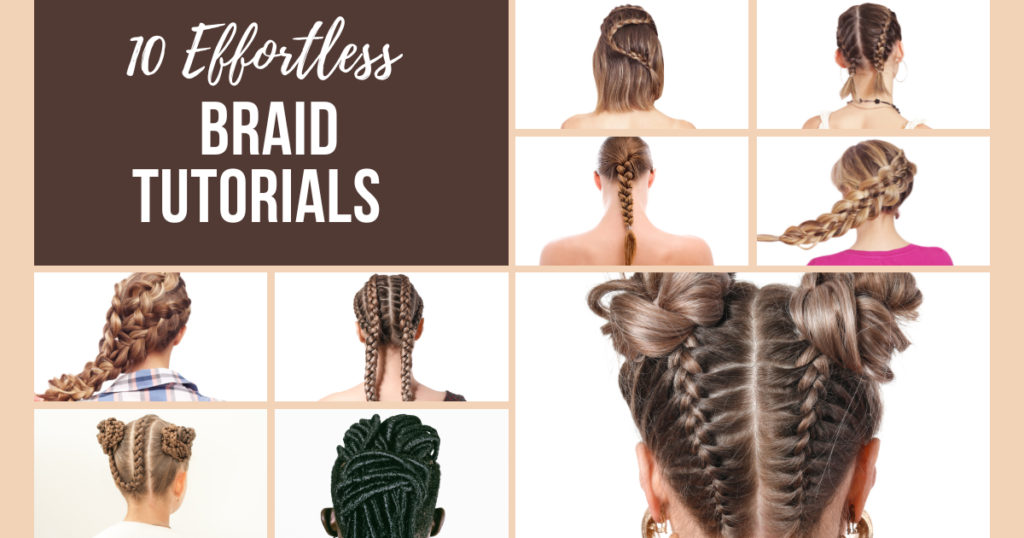
Level Up Your Look: 10 Effortless Braid Tutorials in Minutes for Busy Mornings
For centuries, braids have been a timeless and versatile way to style hair. From intricate cornrows to simple three-strand braids, these styles offer endless possibilities for all hair types and lengths. Whether you’re a seasoned braider or just starting out, mastering a few essential braiding techniques can elevate your hairstyling game and keep your look fresh.
This comprehensive guide explores 10 popular braiding techniques, along with step-by-step instructions and helpful tips to ensure braiding success.
1. The Classic Three-Strand Braid
The three-strand braid is the foundation for many other braiding styles. Here’s how to achieve this timeless look:
○ Step 1: Divide your hair into three equal sections. Hold the right section in your right hand, the center section in your middle finger, and the left section in your left hand.
○ Step 2: Cross the right section over the center section to become the new center section.
○ Step 3: Repeat step 2, but this time crossing the left section over the new center section (which was previously the right section).
○ Step 4: Continue alternating steps 2 and 3, always crossing an outer section over the center section to continuously braid your hair.
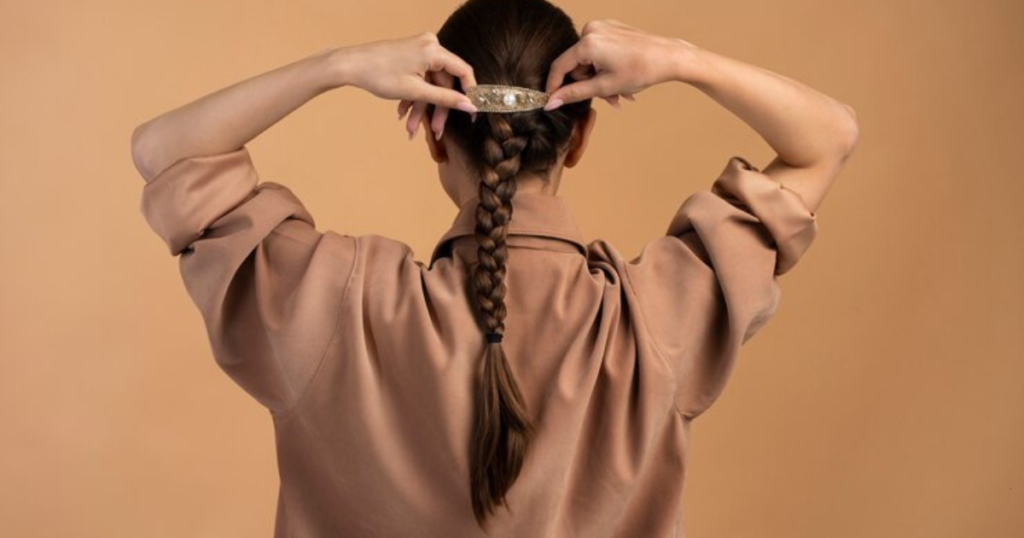
○ Step 5: To secure the braid, tie the end with a hair elastic or ribbon.
Pro Tip: Apply a leave-in conditioner to detangle your hair and create a smooth braiding surface.
2. The French Braid (French Plait)
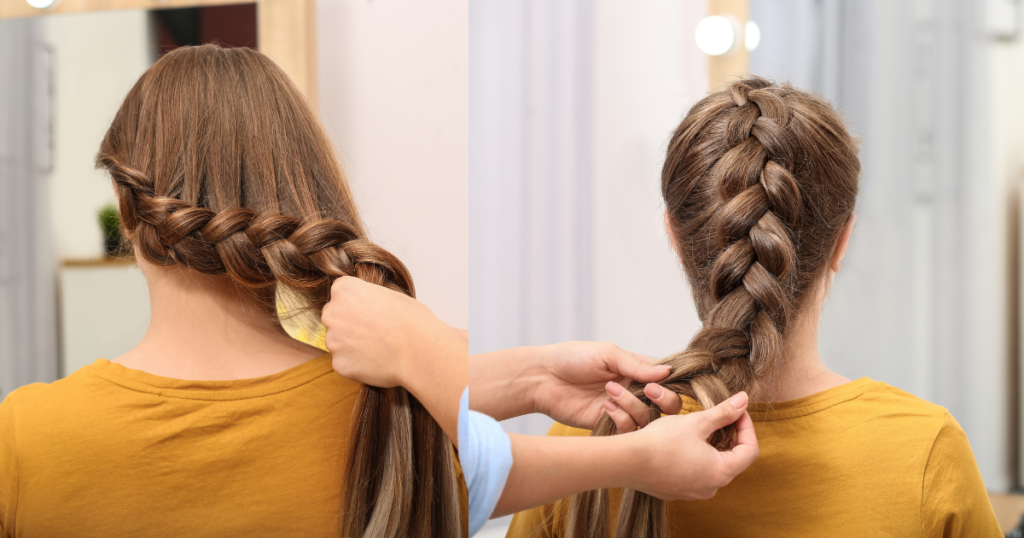
The French braid, also known as the French plait, adds a touch of elegance to any hairstyle. Here’s how to achieve this classic look:
○ Step 1: Brush your hair back to create a clean starting point. Take a small section of hair from the front of your head, near your hairline. Divide this section into three equal strands.
○ Step 2: Follow steps 2 and 3 from the three-strand braid technique (crossing outer sections over the center).
○ Step 3: As you begin to braid, incorporate small sections of hair from the sides into the braid as you cross each section over the center. This will create the signature “woven” effect of the French braid.
○ Step 4: Continue braiding, incorporating hair from the sides with each crossing until you reach the nape of your neck. Then, proceed with a regular three-strand braid until the end.
○ Step 5: Secure the braid with a hair elastic or ribbon.
Pro Tip: For a tighter French braid, incorporate smaller sections of hair during the braiding process.
3. The Fishtail Braid

The fishtail braid offers a beautiful and romantic look. Here’s how to achieve this stunning style:
○ Step 1: Divide your hair into two equal sections.
○ Step 2: Take a small, thin strand of hair from the outer edge of the right section and cross it over to the inner edge of the left section.
○ Step 3: Repeat step 2 on the opposite side, taking a small, thin strand of hair from the outer edge of the left section and crossing it over to the inner edge of the right section.
○ Step 4: Continue alternating steps 2 and 3, taking small sections of hair from each side and incorporating them into the opposite section. This creates the distinctive fishtail pattern.
○ Step 5: Continue braiding until you reach the desired length, then secure the braid with a hair elastic or ribbon.
Pro Tip: Maintaining even tension throughout the braiding process is key to achieving a clean and defined fishtail braid.
4. The Dutch Braid (Dutch Plait)
The Dutch braid, also known as the Dutch plait, is similar to the French braid but creates a raised and voluminous effect. Here’s how to achieve this look:
○ Step 1: Brush your hair back and take a small section of hair from the front of your head near your hairline. Divide this section into three equal strands.
○ Step 2: Unlike the French braid, instead of crossing a regular section over the center, take the rightmost strand, underneath the center strand, and weave it into the center position.
○ Step 3: Repeat step 2 with the leftmost strand, weaving it underneath the new center strand (which was previously the right strand).
○ Step 4: As you continue braiding, incorporate small sections of hair from the sides underneath the braid with each crossing, similar to the French braid technique.
○ Step 5: Continue braiding in this manner, incorporating small sections of hair from the sides underneath the braid with each crossing. This will raise the braid and create the voluminous effect.
○ Step 6: Maintain tension throughout the braiding process to ensure a clean and defined braid.
○ Step 7: Once you’ve reached your desired length or the nape of your neck, finish the braid with a regular three-strand braid technique.
○ Step 8: Secure the braid with a hair elastic or ribbon.
Pro Tip: For an even more voluminous Dutch braid, loosen the stitches slightly after each crossing by gently tugging on the incorporated sections of hair.
By following these steps and practicing regularly, you’ll be braiding beautiful and voluminous Dutch braids in no time!
5. The Waterfall Braid
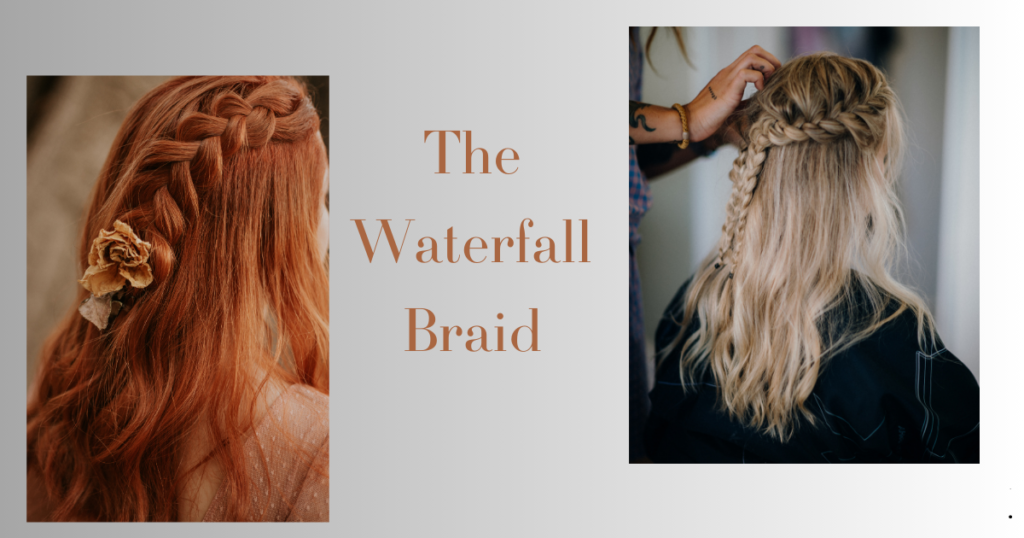
The waterfall braid offers a whimsical and cascading effect, perfect for adding a touch of romance to your hairstyle. Here’s how to achieve this look:
○ Step 1: French braid a small section of hair near your temple.
○ Step 2: After incorporating a section of hair over the center strand during your French braid, instead of continuing to braid that section, let it fall loose down your hair.
○ Step 3: Pick up a new, small section of hair from above the section you just let loose and incorporate it into the center strand as you continue braiding
○ Step 4: Repeat step 2 and 3 throughout the braiding process, creating a cascading effect with sections of hair flowing down your hair like a waterfall.
○ Step 5: Continue braiding until you reach your desired length, then secure the braid with a hair elastic or ribbon.
Pro Tip: Experiment with different waterfall braid placements, starting near the temple, crown, or even the back of your head, for a unique look.
6. The Four-Strand Braid

The four-strand braid offers a more complex and eye-catching look compared to the three-strand braid. Here’s a breakdown of the steps:
○ Step 1: Divide your hair into four equal sections.
○ Step 2: Hold the sections like a square, with one section in each hand and two sections in between your fingers.
○ Step 3: Take the far right section and cross it over the second section from the right, placing it in its position.
○ Step 4: Then, take the far left section and cross it over the second section from the left, placing it in its position.
○ Step 5: Continue alternating steps 3 and 4, always crossing the outer sections over the second section on their respective sides.
○ Step 6: Maintain tension throughout the braiding process to create a clean and defined braid.
○ Step 7: Continue braiding until you reach your desired length, then secure the braid with a hair elastic or ribbon.
Pro Tip: This braiding technique might take some practice to master. Focus on maintaining the correct hand positioning and crossing the outer sections over the second sections throughout.
7. The Half-Up, Half-Down Braid
The half-up, half-down braid is a versatile style that keeps hair out of your face while adding a touch of style. Here’s how to achieve this look:
○ Step 1: Section off the top half of your hair, starting from the temple on one side and bringing it across to the other temple. Secure this section with a hair clip for temporary hold.
○ Step 2: Choose your preferred braiding technique, such as a French braid or a three-strand braid, and start braiding the sectioned hair on one side.
○ Step 3: Continue braiding diagonally down towards the nape of your neck.
○ Step 4: Once you reach the nape of your neck, you have two options: (a) secure the braid with a hair elastic and leave it hanging loose, or (b) incorporate the remaining hair from the section into a regular three-strand braid and continue braiding until the ends.
○ Step 5: Repeat steps 2-4 on the other side of your head to create two braids or one larger braid depending on your preference.
○ Step 6: Unclip the remaining hair and style it as desired. You can leave it loose, curl it, or straighten it for a complete look.
Pro Tip: This style works well with all hair lengths and textures.
8. The Boxer Braid

Boxer braids, also known as cornrows, are a protective style typically braided close to the scalp in multiple rows. Here’s a basic understanding of the technique:
○ Step 1: Part your hair into small, even sections using a rattail comb.
○ Step 2: Apply a styling gel or pomade to each section for a smooth braiding surface.
○ Step 3: Starting at the nape of your neck, take a small section of hair and divide it into three strands. Begin braiding using the three-strand braid technique, incorporating small sections of hair from the sides as you go to keep the braid close to the scalp.
○ Step 4: Continue braiding until you reach the desired length, then secure the braid with a hair elastic.
5. (continued) Boxer Braid
○ Step 5: Repeat steps 2-4 to create multiple braids in rows across your head. You can braid straight back, in a diagonal pattern, or in any design you desire.
Pro Tip: Boxer braids require patience and practice to achieve a neat and even look. Consider watching video tutorials for a more visual understanding of the technique.
9. The Pull-Through Braid (Faux Fishtail Braid)
The pull-through braid offers a simpler alternative to the fishtail braid, creating a similar look with less braiding complexity. Here’s how to achieve this style:
○ Step 1: Divide your hair into two equal sections.
○ Step 2: Take a small section of hair from the outer edge of the right section and hold it between your thumb and index finger.
○ Step 3: Take a small section of hair from the outer edge of the left section and cross it over to the right section, placing it behind the section you’re holding between your thumb and index finger.
○ Step 4: Release the section you were holding in your right hand and incorporate it into the left section.
○ Step 5: Repeat steps 2-4 on the opposite side, taking a small section from the left and crossing it over to the right.
○ Step 6: Continue alternating sides, taking small sections, crossing them over, and releasing the previously held section to create the pull-through effect.
○ Step 7: Continue braiding until you reach your desired length, then secure the braid with a hair elastic or ribbon.
Pro Tip: This technique is a great option for beginners who want to achieve a braid with a fishtail-like appearance without the complexity of the traditional fishtail braid.
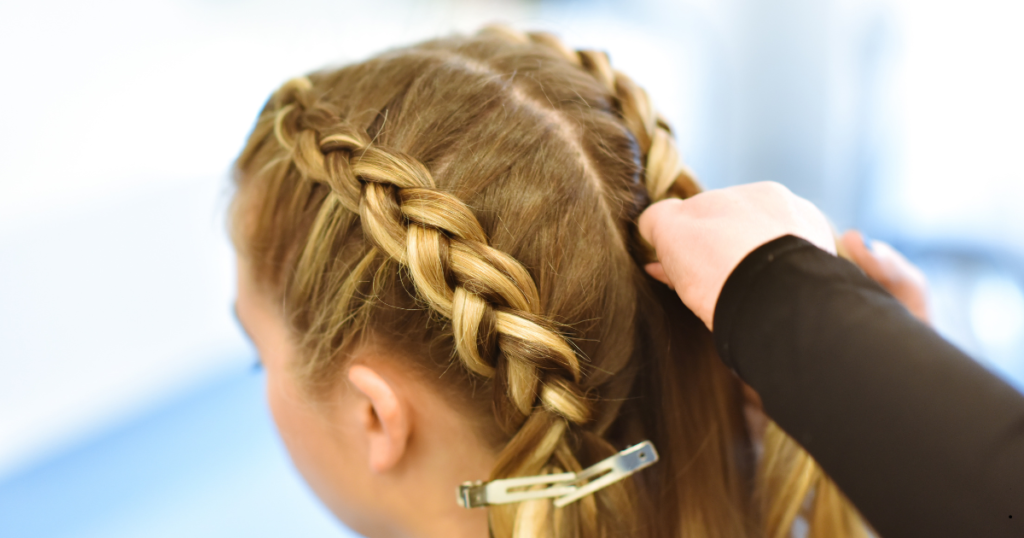
10. The Headband Braid
The headband braid is a stylish and practical way to keep hair out of your face. Here’s how to achieve this look:
○ Step 1: French braid a section of hair along your hairline, starting near one temple and working your way towards the back of your head.
○ Step 2: Once you reach the other side of your head, continue braiding diagonally downwards until the braid reaches behind your ear.
○ Step 3: Secure the braid with bobby pins under the remaining hair to create a headband effect. You can tuck the end of the braid underneath your hair or leave it hanging loose.
○ Step 4: (Optional) Repeat step 1 on the opposite side to create a double headband braid.
Pro Tip: This style works well with all hair lengths and textures.
Conclusion
These are some of the basic 10 hairstyles which will come handy when you want to make a new stylish updo or modern hairstyle. Remember, practice makes perfect! Have no fear if your braids are not perfect at first, this indicates that it is not your very first Braid cycle. Remember to keep going and you will soon be having your hair braid like what the professional hairdressers do. Luckily, if interested in mastering a new braid, there exist numerous resources on the internet that can assist you. Who is going to search for watching video tutorials, braiding charts and some other styles of hair braid tutorials and ideas for practice further.